

Introduction
Imagine the aroma of freshly baked bread wafting through your home, a scent that promises warmth, comfort, and a truly delicious experience
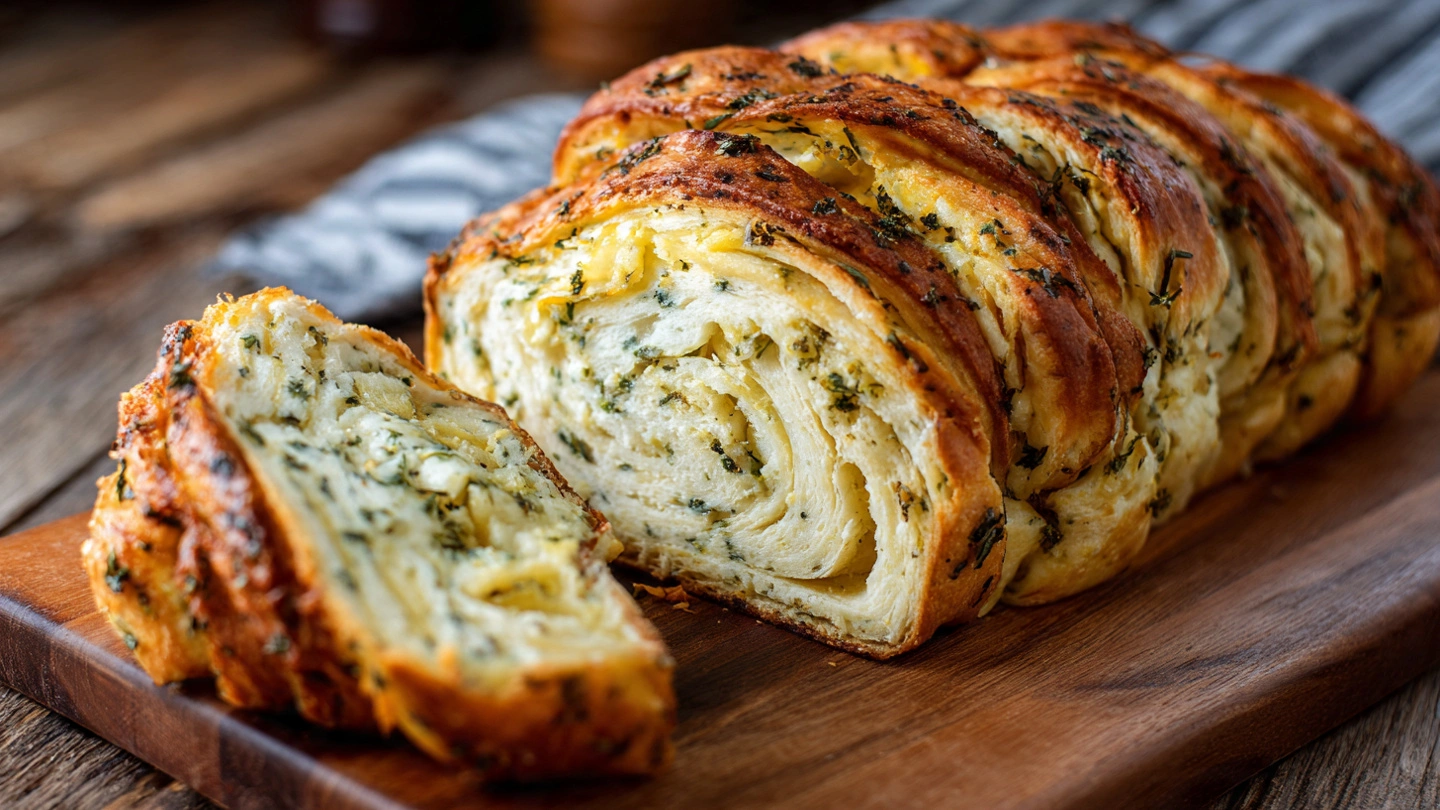
. Now, picture a loaf of bread so visually stunning and packed with flavor that it becomes the star of any meal . This is the magic of Swirled Garlic Herb and Cheese Bread. This bread is a feast for the senses, with its beautiful twisted or braided appearance revealing tantalizing ribbons of garlic butter, fragrant herbs, and gooey, melted cheese
. Each bite offers a soft, pillowy texture and a savory explosion of flavors that will have everyone reaching for another slice
. Whether you’re an experienced baker or just starting your journey with yeast, this comprehensive guide will walk you through creating this irresistible bread from scratch, complete with the scientific principles, sensory cues, and troubleshooting tips to ensure a perfect loaf every time
Why You’ll Love This Recipe
- Incredibly Flavorful: The combination of rich garlic butter, a medley of fresh or dried herbs, and a blend of savory cheeses creates a taste that is simply unforgettable .
- Visually Stunning: The swirled or braided technique results in a beautiful, artisanal-looking loaf that is sure to impress your family and guests .
- Perfect for Sharing: This bread is the ultimate crowd-pleaser, making it an ideal appetizer, side dish, or centerpiece for any gathering .
- Surprisingly Rewarding: While it looks complex, the process is straightforward, and understanding the science behind the steps makes it a rewarding experience, even for novice bakers .
- Versatile for Any Occasion: From game day parties like the Super Bowl to elegant holiday feasts, this bread can be adapted to fit any event .
- Customizable: This recipe is wonderfully versatile, allowing you to experiment with different herbs, cheeses, and shaping techniques to create your perfect loaf .
Understanding Your Ingredients: The Science of a Perfect Loaf
Using the right ingredients is the first step toward a soft, fluffy loaf
. Understanding the scientific role of each component will empower you to bake with confidence. This recipe can be broken down into two main components: the dough and the filling


For the Dough:
- Warm Milk (1 cup / 240 ml):
- Scientific Function: Milk provides the liquid to hydrate the flour and form gluten . The fat and lactose (milk sugar) tenderize the crumb, creating a softer texture and a richer flavor . Warming the milk to 105–115°F (40–46°C) is crucial; it deactivates whey proteins that can inhibit yeast activity and weaken gluten development . Lactose also contributes to a beautiful golden-brown crust via the Maillard reaction during baking .
- Sensory Cues: The milk should feel comfortably warm to the touch, not hot . It should not be steaming or have a skin on top, which indicates it’s too hot and could kill the yeast .
- Yeast (2 ¼ tsp instant or active dry):
- Scientific Function: As a living, single-celled fungus, yeast is the leavening engine of your bread . It consumes the sugars in the dough and, through fermentation, produces carbon dioxide (CO2) and ethanol . The CO2 gas gets trapped in the gluten network, causing the dough to rise, while the ethanol and other byproducts create the bread’s characteristic flavor and aroma .
- Sensory Cues: When activated (“proofed”), your yeast mixture should become foamy, bubbly, and smell “bready” . As the dough ferments, it will develop a pleasant, slightly alcoholic or beer-like aroma .
- Sugar (1–2 tbsp granulated):
- Scientific Function: Sugar plays multiple roles. It provides a quick food source for the yeast to jump-start fermentation . It also tenderizes the dough by attracting water, which slightly inhibits gluten development, resulting in a softer crumb . Finally, it contributes to a deeper browning of the crust through caramelization .
- Sensory Cues: Doughs with higher sugar content may feel stickier . The final crust will have a richer, golden-brown color .
- Bread Flour (3–4 cups):
- Scientific Function: Bread flour is the structural foundation, chosen for its high protein content (12-14%) . When hydrated, these proteins (glutenin and gliadin) form a strong, elastic gluten network . This network is essential for trapping the CO2 produced by the yeast, allowing the dough to rise high and creating a characteristically chewy texture .
- Sensory Cues: A properly kneaded dough made with bread flour will feel strong, smooth, and elastic, and it will resist tearing .
- Salt (1–1 ¼ tsp fine):
- Scientific Function: Salt is a non-negotiable flavor enhancer, bringing out the natural sweetness of the wheat . It also strengthens the gluten network by tightening the strands, helping the dough hold gas more efficiently for a better rise . Critically, salt regulates yeast activity by slowing fermentation, which prevents the yeast from exhausting its food supply too quickly and allows for more complex flavor development .
- Sensory Cues: A properly salted dough will feel less sticky and more cohesive, making it easier to handle .
- Butter (2–3 tbsp softened, unsalted):
- Scientific Function: As a fat, butter enriches the dough by coating flour proteins and limiting gluten development, which tenderizes the loaf and results in a soft, “shreddy” crumb . It adds significant flavor and richness and helps extend the bread’s shelf life by retaining moisture .
- Sensory Cues: The dough will have a slight sheen and a yellowish tint . The final loaf will be exceptionally soft and moist with a distinct buttery aroma .
- Eggs (1–2 large, room temperature):
- Scientific Function: Eggs are a powerhouse enricher . The proteins (especially in the whites) add structure, supplementing the gluten and helping the dough rise . The fat in the yolk tenderizes the crumb, adds richness, and contributes to a fluffier texture . Egg yolks also contain lecithin, a natural emulsifier that creates a smoother, more cohesive dough .
- Sensory Cues: The dough will have a rich, yellow color . The baked bread will have a soft, slightly chewy crumb and a beautiful golden crust .
For the Filling:
- Butter (4–6 tbsp very soft, unsalted): Using softened rather than fully melted butter helps prevent the filling from leaking out during baking .
- Garlic (3–6 cloves, finely minced): Adjust to your personal preference. Be aware that garlic powder in large quantities can have antimicrobial properties that may slightly inhibit yeast growth .
- Herbs (3 tbsp fresh or 3 tsp dried): A mix of parsley, chives, oregano, basil, thyme, or rosemary works beautifully .
- Cheese (2–3 cups shredded): A blend is best for flavor and meltiness . For best results, grate your own cheese to avoid the anti-caking agents in pre-shredded varieties, which can cause a greasy or dry texture .
- Seasoning: ½ tsp salt, ¼ tsp black pepper, and a pinch of red pepper flakes (optional).
- Secret Weapon (1 tbsp all-purpose flour): Tossing the cheese with flour acts as a stabilizer, absorbing excess moisture and fat from the filling to prevent a soggy interior, greasiness, and the dreaded “gaping swirl” .
For the Finish:
- Egg Wash (1 egg + 1 tbsp milk/water): This serves as a “glue” to help the filling adhere to the dough and gives the crust a golden, shiny finish .
Step-by-Step Instructions with Sensory Cues
1. Making the Dough
- Activate the Yeast: In a large bowl, whisk together the warm milk, sugar, and yeast . Let it sit for 5-10 minutes . Visual Cue: It should become foamy, proving the yeast is active . If not, your yeast may be expired or the milk was too hot/cold; start over with a fresh batch .
- Combine Ingredients: Add the eggs, softened butter, 3 cups of bread flour, and salt . Mix with a dough hook (or by hand) until a shaggy dough forms .
- Knead the Dough: Knead on medium speed for 8-10 minutes (or 10-12 by hand) . Sensory Cues: The dough will transform from a sticky mess into a smooth, elastic ball . It will feel less sticky and spring back when pressed . The goal is to develop the gluten structure that traps gas . Add more flour sparingly if needed; a slightly sticky dough is well-hydrated and leads to a moister bread .
- The Windowpane Test: The dough is ready when it passes the windowpane test: a small piece can be stretched until it’s thin enough to see light through it without tearing . This indicates a perfectly developed gluten structure.
2. First Rise (Bulk Fermentation)
- Prepare and Rise: Form the dough into a ball, place it in a lightly oiled bowl, and cover tightly with plastic wrap or a damp cloth to prevent a dry skin from forming . Let it rise in a warm, draft-free spot (75-85°F / 24-29°C) for 1-2 hours . If your kitchen is cool, place the bowl in a turned-off oven with the light on .
- Sensory Cues: Visually, the dough will double in size, and you may see large bubbles under the surface . Texturally, it will feel light, airy, and full of gas . Olfactorily, the yeasty, slightly alcoholic aroma will intensify .
3. Preparing the Filling
- While the dough rises, combine the softened butter, garlic, herbs, and seasonings in a small bowl .
- In a separate bowl, toss the shredded cheeses with the 1 tablespoon of flour . This is a crucial step to prevent a soggy, greasy, or gapping loaf .
4. Shaping the Swirled Loaf
- Roll Out: Punch down the risen dough to release the air . On a floured surface, roll it into a 12×18 inch rectangle.
- Apply “Glue” and Filling: Brush a thin layer of egg wash over the dough, leaving a ½-inch border . This is the “glue” that prevents gaps . Spread the garlic butter evenly, then sprinkle on the cheese mixture .
- Roll and Seal: Roll the dough into a snug log from the long edge, minimizing air pockets . Pinch the seam and ends very tightly to seal .
- Cut and Twist: Using a sharp knife, slice the log in half lengthwise, leaving one end intact . Carefully twist the two strands over each other, keeping the cut, layered sides facing up to showcase the filling . Pinch the ends together .
- Pan: Gently place the twisted dough into a greased 9×5 inch loaf pan.
5. Second Rise (Proofing) & The Poke Test
- Let it Rise Again: Loosely cover the loaf and let it rise in a warm place for 30-60 minutes . Visual Cue: The dough will increase in size, looking puffy and full .
- The Poke Test: This test is the most reliable way to know when your dough is ready to bake. It assesses the balance between gas production and gluten strength .
- Under-proofed: If you poke the dough and the indent springs back quickly and completely, it needs more time . Baking now would result in a dense loaf that might burst on the sides (“blowout”) .
- Perfectly Proofed: If the indent springs back slowly and only partially, it’s ready . The dough feels light and airy . This is the ideal state for a great oven spring and a light, even crumb.
- Over-proofed: If the indent remains completely and doesn’t spring back, the dough is over-proofed . The gluten structure has weakened and the loaf will likely collapse in the oven, resulting in a flat, dense bread with a sour flavor .
6. Baking the Bread
- Preheat Oven: Preheat to 375°F (190°C) . An accurate oven temperature is key .
- Bake: Brush the loaf with the remaining egg wash . Bake for 30-40 minutes. You’ll see a final burst of rising called “oven spring” in the first few minutes . If the top browns too quickly, tent it with foil .
- Check for Doneness: The loaf is done when it’s deep golden brown . For 100% certainty, use an instant-read thermometer; the internal temperature should be 190–210°F (88–99°C) .
- Doneness Checks (No Thermometer):
- The Tap Test: Carefully remove the loaf from the pan and tap the bottom. It should sound hollow, which indicates the water inside has turned to steam and cooked the interior .
- Visual Cues: The crust is a uniform golden-brown, and the edges of the bread are pulling away from the sides of the pan .
- Texture: The loaf feels firm and springy to the touch .
- Skewer Test: A thin skewer or toothpick inserted into the center should come out clean .
- Cool Completely: Let the bread cool in the pan for 10 minutes, then transfer to a wire rack to cool completely . This is a critical, non-negotiable step. The internal structure is still setting, and slicing into hot bread releases steam, causing a gummy, dense crumb .
Troubleshooting & Frequently Asked Questions
Even seasoned bakers run into issues. Here are answers to the most common questions to help you achieve a perfect loaf.
- “Why isn’t my dough rising?”
This is a common worry, but the fix is usually simple.- Check Your Yeast: Yeast is a living organism and can expire . Always check the date. To be sure, “proof” it first by dissolving it in warm (105-115°F / 40-46°C) liquid with a pinch of sugar. If it doesn’t get foamy in 5-10 minutes, it’s inactive and you need a new batch . Liquid that’s too hot (over 130°F / 55°C) will kill the yeast, while liquid that’s too cold will make it sluggish .
- Check Your Environment: Yeast loves a warm, draft-free spot (70-90°F / 21-32°C) . If your kitchen is chilly, the rise will be very slow . Create a proofing box by placing the dough in a turned-off oven with the light on or next to a cup of hot water .
- Keep it Covered: A dry skin can form on the dough’s surface, restricting its rise . Always cover the bowl with plastic wrap or a damp cloth .
- Be Patient: Proper kneading is essential to build the gluten that traps air . If you’ve checked all the above, your dough may just need more time.
- “My bread is greasy. How can I fix this?”
A greasy loaf is preventable with the right ingredients and technique.- Choose Low-Moisture Cheese: High-moisture cheeses release excess oil . Opt for low-moisture, part-skim mozzarella, or harder, aged cheeses like sharp cheddar, provolone, Gouda, or Parmesan, which have lower moisture and fat content .
- Shred Your Own: Pre-shredded cheese contains anti-caking agents that prevent smooth melting and can contribute to a greasy or dry texture . Grating a block of cheese yourself gives a far superior result .
- Use the Flour Trick: Tossing your shredded cheese with a tablespoon of flour is a game-changer. The flour absorbs excess oil released during baking .
- Don’t Overdo It: While tempting, using an excessive amount of cheese can weigh down the dough and lead to greasiness .
- “How do I prevent my bread from being dry?”
Follow these tips for a moist, tender crumb.- Measure Flour Correctly: Too much flour is the number one cause of dry bread. Spoon flour into your measuring cup and level it off instead of scooping directly from the bag . For ultimate accuracy, use a kitchen scale .
- Don’t Over-Bake: This is a primary cause of dryness. Start checking for doneness at the lower end of the baking time . If the top is browning too fast, tent it with foil .
- Embrace Enrichments: Ingredients like milk, butter, and eggs tenderize the dough and help it retain moisture, ensuring a softer crumb .
- Cover While Cooling: For an extra-soft crust, you can cover the loaf with a clean cloth as it cools to trap steam .
Make-Ahead Instructions: The Magic of Cold Fermentation
Making your dough in advance is a fantastic way to fit fresh bread into a busy schedule and develop a richer, more complex flavor
. This process is called cold fermentation or retarding the dough
The Science Behind the Magic
When you refrigerate dough, the cold temperature dramatically slows the yeast’s gas production
. However, other enzymatic processes continue, breaking down starches into sugars
. This slow, extended fermentation develops complex and nuanced flavor compounds (acids and esters) that you can’t get from a quick, warm rise, resulting in a more “artisan” taste
. It also gives you a flexible baking window of 12 to 72 hours
When to Refrigerate: Two Options
- After Kneading (for the First Rise): This is the most convenient and forgiving method for beginners . After kneading, place the dough in a greased, airtight container with room to expand and put it directly in the fridge . It can be stored for up to 3 days . The cold, firm dough is also easier to shape the next day .
- After Shaping (for the Second Rise): For ultimate convenience on baking day, you can let the dough complete its first rise, then shape the loaf, place it in the pan, cover it, and refrigerate . This allows you to bake almost straight from the fridge . This method is slightly riskier, as an active dough can over-proof in the fridge .
Adjustments for Baking Cold Dough
- If Refrigerated for the First Rise: Remove the dough from the fridge. Let it sit at room temperature for 1-2 hours to warm up slightly and finish rising if it hasn’t doubled . Then, shape the loaf as directed. The second rise at room temperature will likely take longer than the original recipe states, as the dough is still cool .
- If Refrigerated for the Second Rise: You can bake the loaf straight from the refrigerator, which often improves oven spring . Preheat your oven thoroughly. If the loaf doesn’t look puffy, you can let it sit at room temperature for 30-60 minutes to finish proofing . You may need to add 5-10 extra minutes to the baking time to account for the cold start .
Substitutions and Dietary Adaptations
Common Ingredient Swaps
- All-Purpose Flour vs. Bread Flour: You can use all-purpose flour, but the result will be a more tender, less chewy crumb, and the loaf may not rise as high . Because AP flour absorbs less water, you may need to reduce the milk slightly . To mimic bread flour, add 1.5 teaspoons of vital wheat gluten per cup of AP flour .
- Oil vs. Butter: Substituting oil for butter will yield a moister, more cake-like crumb rather than the “shreddy” texture butter provides . The flavor will also lack butter’s richness . Use a 3:4 ratio (e.g., ¾ cup oil for 1 cup of butter) .
Vegan and Dairy-Free Adaptations
- Milk: Use an unsweetened plant-based milk in a 1:1 ratio . Soy milk is an excellent choice due to its high protein content, which aids in structure and browning . Almond and oat milk also work well .
- Butter: High-quality vegan butter sticks are the best 1:1 substitute, as they are designed to bake like dairy butter . Solid coconut oil is another good 1:1 option .
- Eggs:
- In the dough: A “flax egg” (1 tbsp ground flaxseed + 3 tbsp water, rested to thicken) is a great binder . Alternatively, use ¼ cup of unsweetened applesauce or vegan yogurt per egg for moisture .
- For the egg wash: Brush the loaf with plant-based milk mixed with a little maple syrup, or use aquafaba (the liquid from a can of chickpeas) for a golden, shiny crust .
- Cheese: Use your favorite brand of meltable vegan cheese shreds (like Daiya, Miyoko’s, or Follow Your Heart) . A savory cashew-based cheese sauce or a dairy-free cream cheese alternative also works well in the swirl .
Creative Variations and Serving Suggestions
- Alternative Fillings: Try spreading the dough with pesto and sun-dried tomatoes , or add caramelized onions, sautéed mushrooms, or chopped olives . For a spicy kick, add chopped jalapeños or use Pepper Jack cheese .
- Advanced Shapes: Shape the loaf into a circular wreath for holidays or create individual pull-apart rolls for easy sharing .
- Perfect Pairings: This bread is incredible for dipping into creamy tomato soup or sopping up pasta sauce . It’s also a fantastic side for roasted chicken, steak, or a large salad .
Storage and Freezing
- Storage: Store in an airtight container or bag at room temperature for up to 2-3 days . Avoid the refrigerator, which makes bread go stale faster .
- Freezing: Wrap the completely cooled loaf tightly in plastic wrap, then foil. Freeze for up to 3 months. Thaw at room temperature and re-warm in a 350°F (175°C) oven for 10-15 minutes.
Executive Summary
This Irresistible Swirled Garlic Herb and Cheese Bread is a show-stopping loaf that is as delightful to eat as it is to look at
. The recipe combines a soft, enriched dough with a savory filling of garlic butter, herbs, and a generous amount of melted cheese
. The unique swirling technique creates beautiful layers of flavor and texture in every slice
. This comprehensive guide provides a detailed, step-by-step process for creating this bread, enhanced with the scientific principles behind each ingredient and technique to ensure success for bakers of all skill levels
To achieve an exceptionally soft and pillowy crumb, this guide explains the critical roles of high-protein bread flour, enriching fats like butter and eggs, and proper kneading, confirmed with the “windowpane test”
. It demystifies the proofing process with a detailed explanation of the “poke test,” enabling bakers to identify the perfect moment to bake
. The article has been significantly expanded with a detailed Troubleshooting & FAQ section addressing common beginner issues such as dough not rising, greasy cheese, and dry bread, providing clear, reassuring solutions
. Furthermore, it now includes a comprehensive guide to making the dough ahead of time using cold fermentation, explaining the science, optimal methods, and necessary adjustments to fit fresh-baked bread into any schedule
. By following this in-depth guide, any home baker can confidently create a spectacular and delicious loaf of Swirled Garlic Herb and Cheese Bread